Hello again! This will be a three part series in which I will try to convey some of the knowledge gained in the last 20 years of growing 20 to 50 million transplants each year.
Lets dive right in shall we?
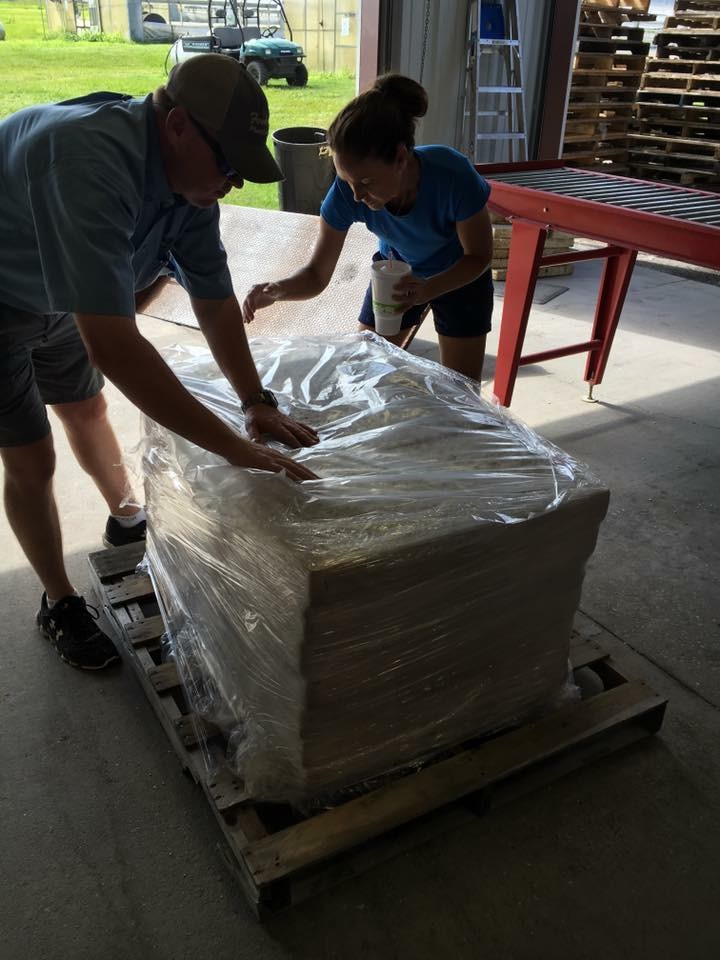
After you have collected, dried and refrigerated your daylily seed for three weeks they are ready to be planted. I use a Styrofoam tray 26 ½ inch long by 13 ¼ inch wide. This size tray you can get in various cell combinations, I prefer 128 or 200 cells. You can use much larger ones, but all you need is enough soil to make a good root ball to support a healthy plant. Next, fill the tray with peat moss (germinating mix). Make sure you get germinating mix because the fibers in the germinating mix are shorter so they hold moisture better / longer. Now you want to make sure each cell is completely full to the bottom and firm. Use a pencil and make a small hole in the Peat in the center of each cell. This is where the seed is placed. The seed should be ¼” below the level of the soil. Place a plant stake in the first cell of each cross you have made (cross being pod parent x pollen parent of the cultivars). Make sure you use permanent marker on the stake, you will have to cut the stake in small section to fit the tray. The trays will be stacked later. After tray is seeded place another layer of soil over the top. Make sure you place enough soil so the seed will be approximately ½” under the top of the soil. A thin layer of perlite can be placed on top of each tray, but that isn’t necessary. Lastly, water each tray until you achieve ample moisture, but not WET. Stack on pallet and wrap with plastic. It’s important to try to make it air tight. They will not be watered again while on the pallet. Place in a room where temperature is somewhat consistent and out of direct sunlight.
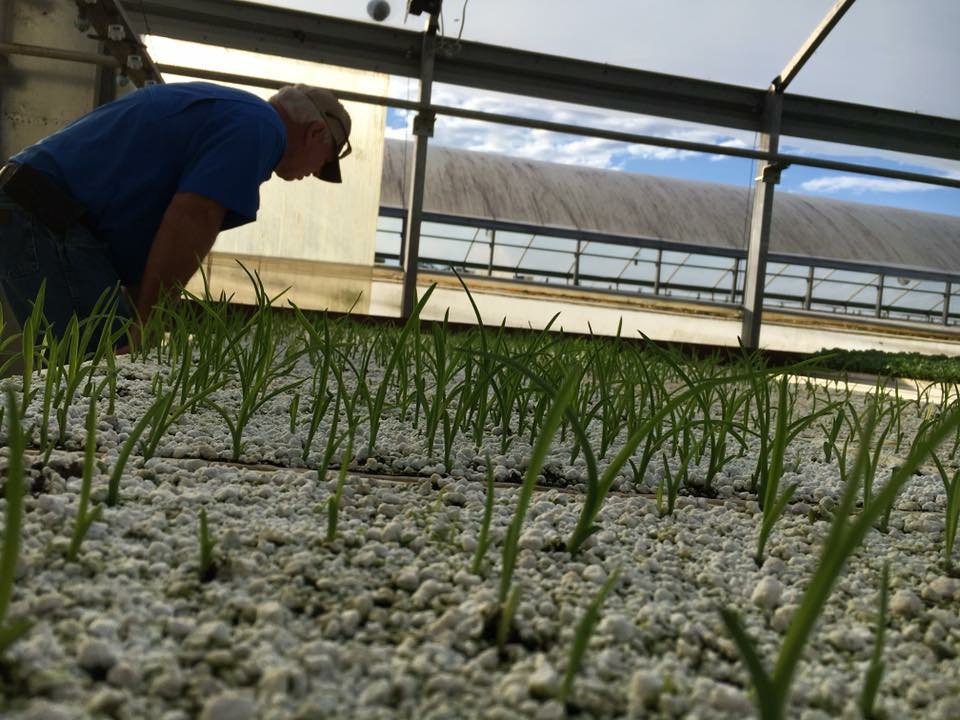
Check daily, usually in about a week to 10 days you will see seed are starting to germinate. Once you start to see some of the seed start pushing its way to the surface, move to where you are going to grow the plants immediately and unstack the trays. If plants are allowed to push against the tray above they will be ruined. The area where you plan to plant your flowers should have plenty of sunlight. Now lets back up a little and explain what we just did. Growing seedlings in these small cell trays in darker areas will cause your seedlings to elongate (grow tall and spindly). Now moving on, you can start watering your seedlings. Then it’s time to apply a chemical to help prevent seedling disease. Topsin fungicide is one example that you can use. It’s also worth noting that you will need a water system where water can be applied evenly to the beds and plants.
BRUCE: “I will tell you now that these seedlings could be grown in a water bed (float bed), which would be much easier. I have grown other seedlings in waterbeds, but never daylilies however many people use this method, and I know it will work as long as you are equipped to use that method”. However, that’s a blog for another day.
Once most seedlings are up you can apply a high phosphorus fertilizer like 12-48-8. This helps develop the root system. Apply only one time, too much high phosphorus can also cause your plants to elongate. Start fertilizing each time you water with a different type of fertilizer. Use a water-soluble fertilizer, such as 10-10-10- or 20-10-20 at a rate of 2 lb / 100 gal. or 1lb / 100 gal. of water respectfully. I said to fertilizer every time you water, but I usually give them a break on Saturday and Sunday. There’s no exact science for fertilizing so use your own judgement, for example to obtain a darker green use more fertilizer and if your plants are becoming too green, use less fertilizer etc. Now, you want to water your plants in the mornings and put enough water to last all day. Usually a seedling is transplanted while it’s hot out, so it’s necessary to point out that you don’t want to water in the heat of the day, and certainly don’t want to water them late in the evening where they will go through the night wet. Afternoon and late evening watering is just asking for trouble as far as diseases are concerned. SO REMEMBER, early morning watering and use enough to last them all day.
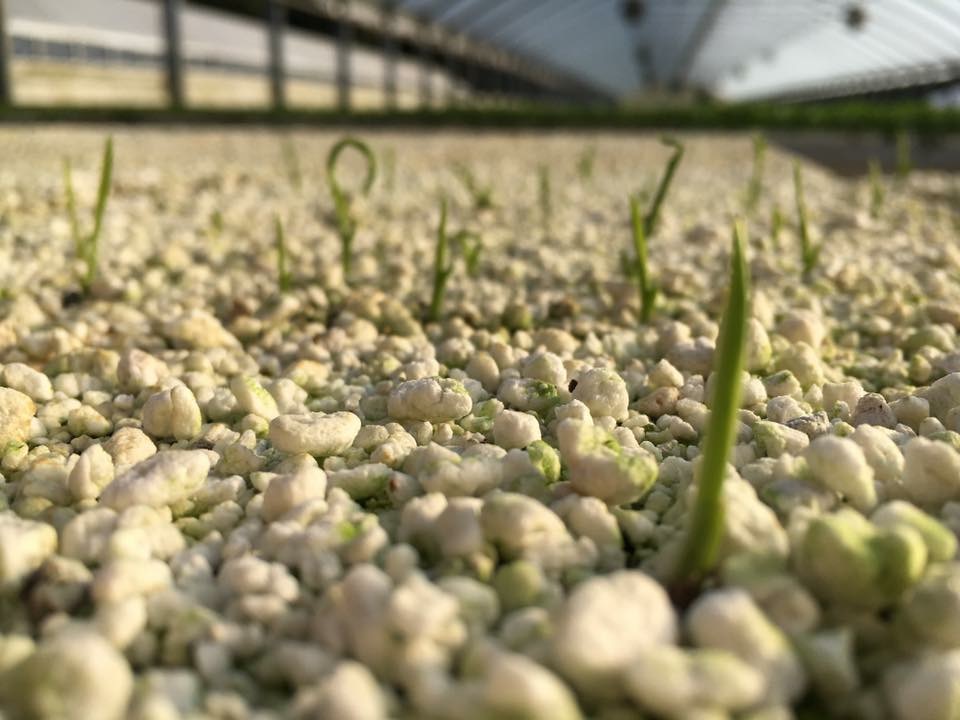
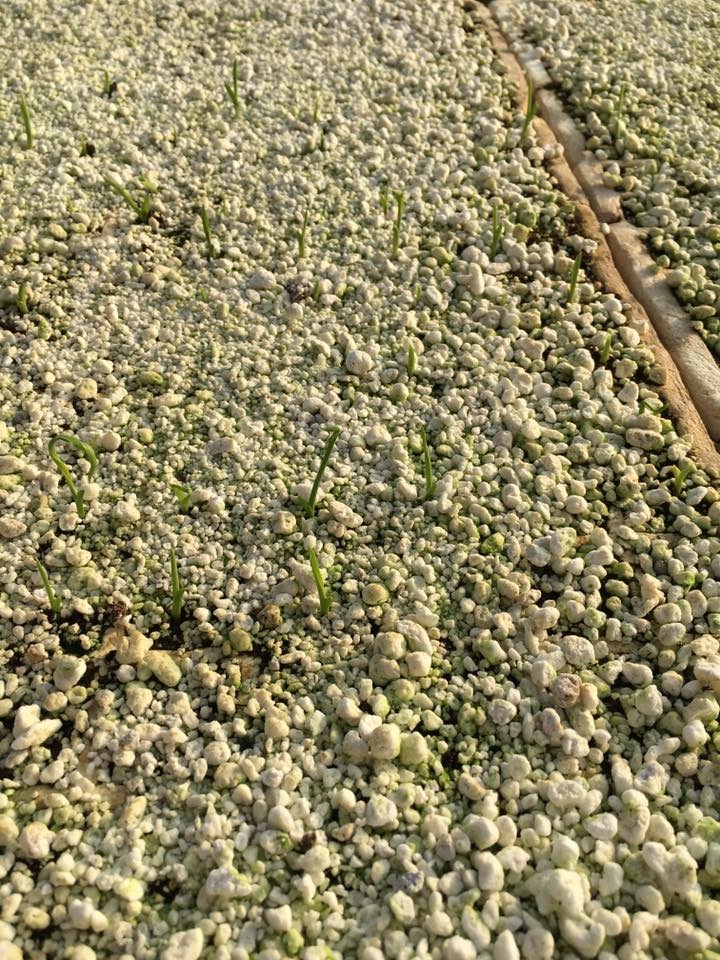
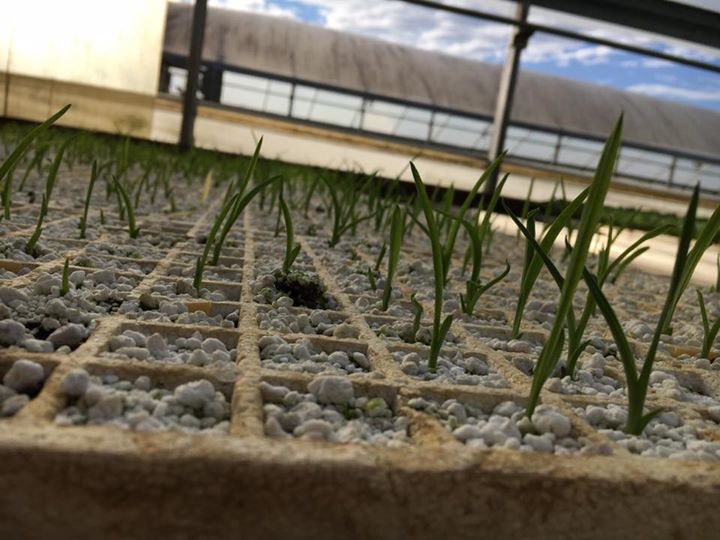
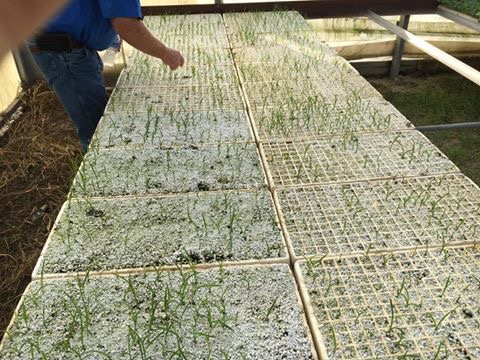
The next stage is watching. Watch to see the seeds germinate and begin to grow. See pictures below for examples of these first three phases.
Join us again for Part 2–From Seedling plugs to the bed or 1 gallon pots.
Bruce & Kathy Fowler ❤